Creating accessible documents
Overview
This guide explains how to make accessible Microsoft Word documents and PDF files. To generate accessible PDF files from Word, the Word document needs to be accessible.
Most people are in the habit of formatting their documents visually instead of semantically. By making simple changes like using the built-in heading, list, and other styles, your document will be much more accessible. Changing habits like using the enter/return key instead of adjusting the line and paragraph spacing means your document can be easier for everyone to use.
If all you have is a PDF and not the source file used to create it you can fix many accessibility issues in Acrobat.
Learn how to fix PDF accessibility issues in Acrobat.
Contents
- Styles
- Headings
- Hyperlinks
- Lists
- Alternative text
- Tables and table headers
- Spacing
- Document properties
- Converting to PDF
- Accessible templates
Styles
Microsoft Word offers built-in styles to add headings, paragraphs, quotes and other elements. These styles are semantic and not just visual. They tell screen readers that the text or element has a specific function.
Do not create everything as normal text and then increase font-size, boldness and/or change the font-family to make it look like a heading. Instead, use Word's predefined heading and other styles. If these styles don't have the look you want, create your own styles and/or modify existing ones. You cannot create new heading styles, but you can modify the existing ones.
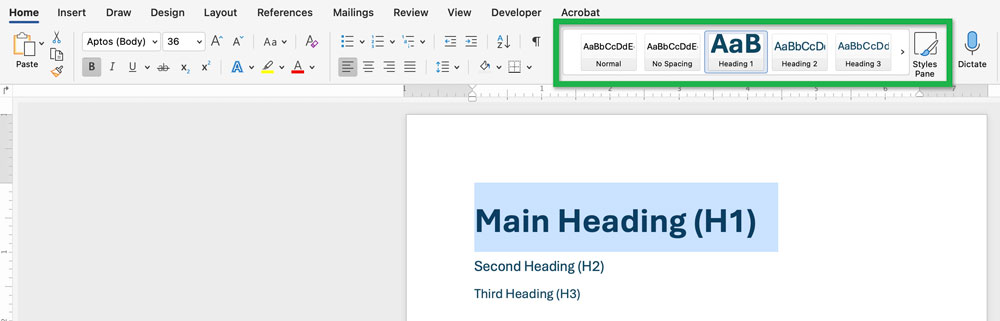
To apply heading (or other) styles:
- Select the text.
- From the Home tab, in the Styles panel, select the heading (or other style) to apply.
Modify heading styles
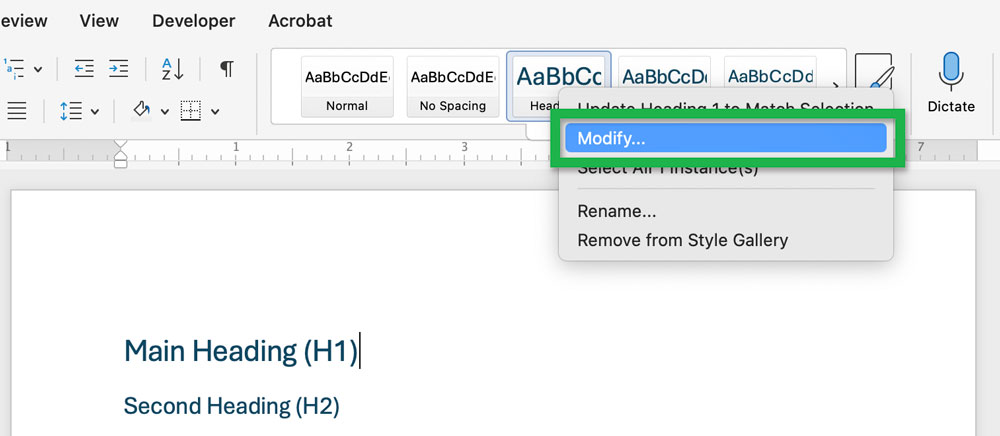
- Right-click on the style you want to change and select Modify....

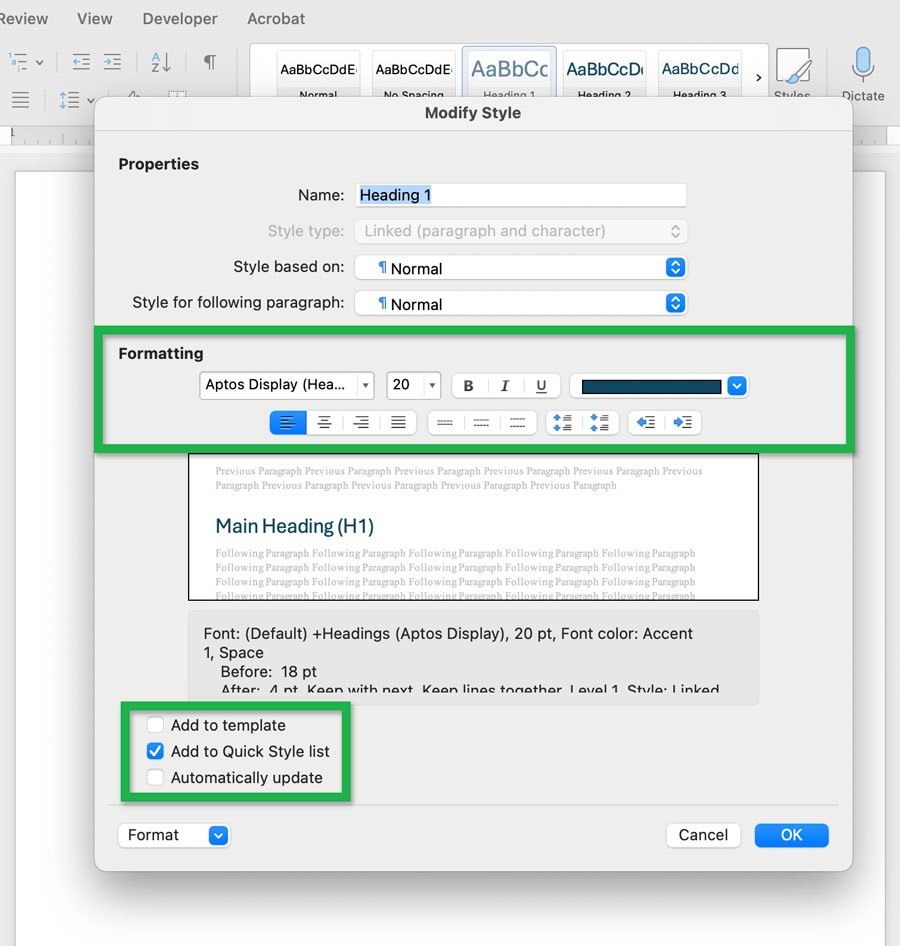
Screenshot showing the Modify... option when right-clicking a style. - The Modify Style window will appear where the styles (Formatting) can be changed.
Screenshot showing the Modify Styles window. - Select the Add to template checkbox to save your modifications to the default template used to create new documents (Normal.dotm).
Note: Modifying a style will change it throughout the whole document. For example, modifying the Heading 2 style will affect all elements with Heading 2 applied.
Headings
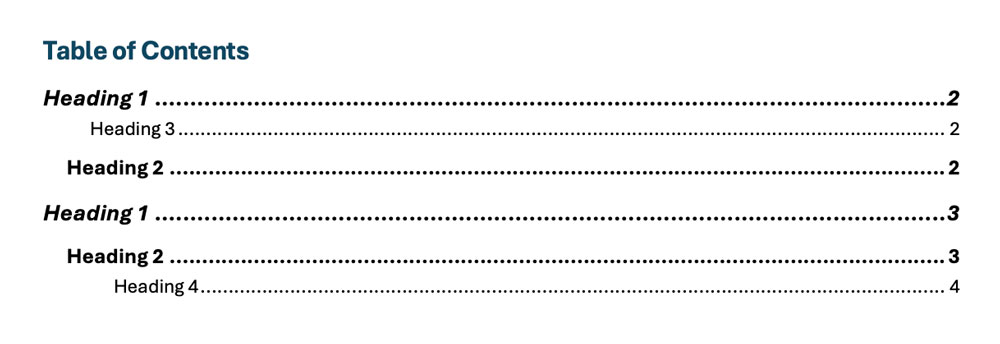
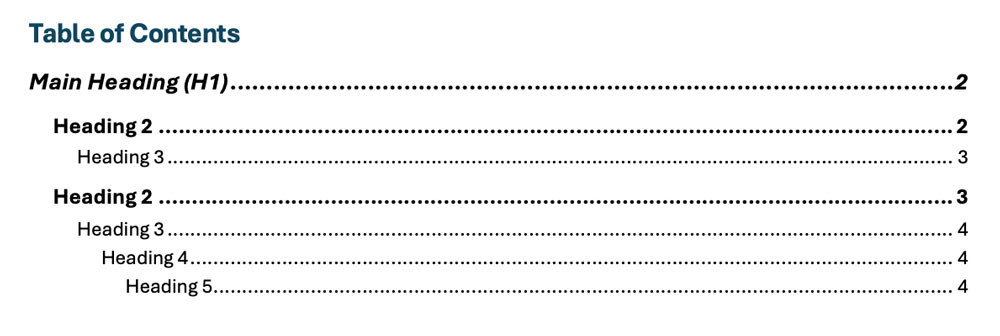
Use appropriate heading levels to allow screen readers to create an ordered list of all headings in the document and make it easier to navigate.
You should have only one heading 1. Heading 1 should be the main heading for the entire document. Do not skip heading levels.
See accessible structure using headings for more information on creating appropriate headings.
Bad:
Good:
Hyperlinks
See creating accessible hyperlinks for more information on creating appropriate link text.
To add hyperlinks in a word document:
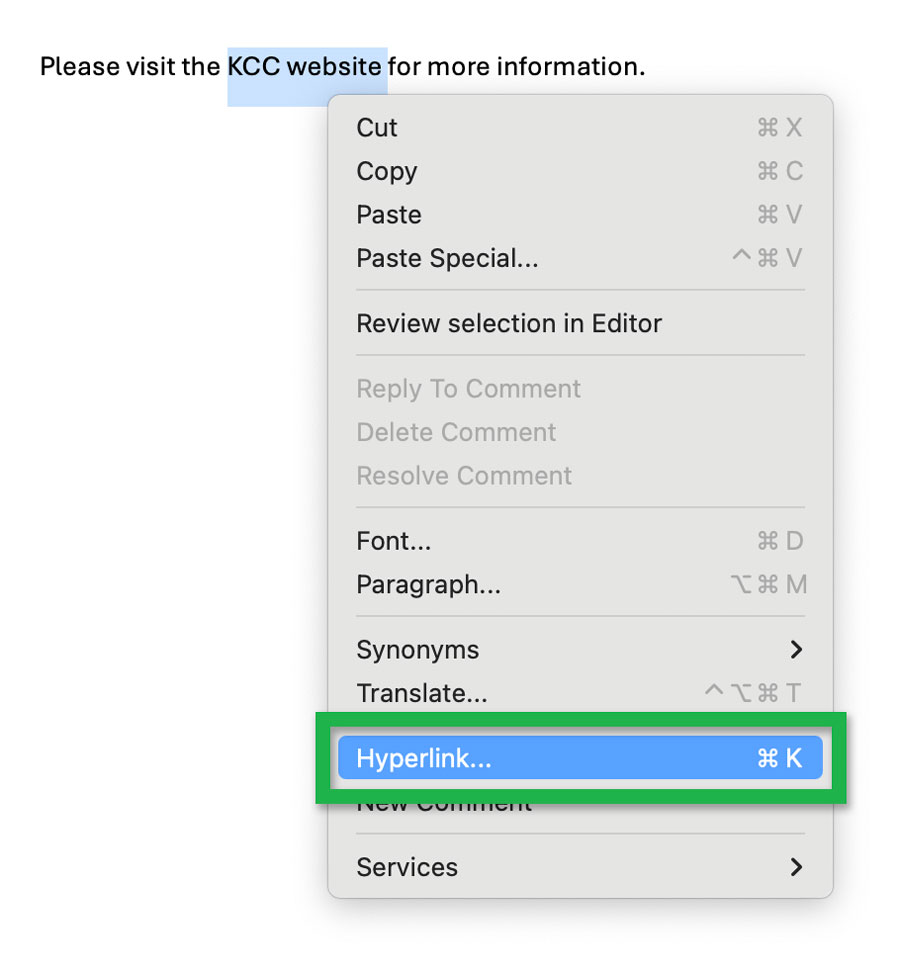
- Select the text you want to become a link
- Right-click the selected link text and choose Hyperlink....
Screenshot showing the Hyperlink... option
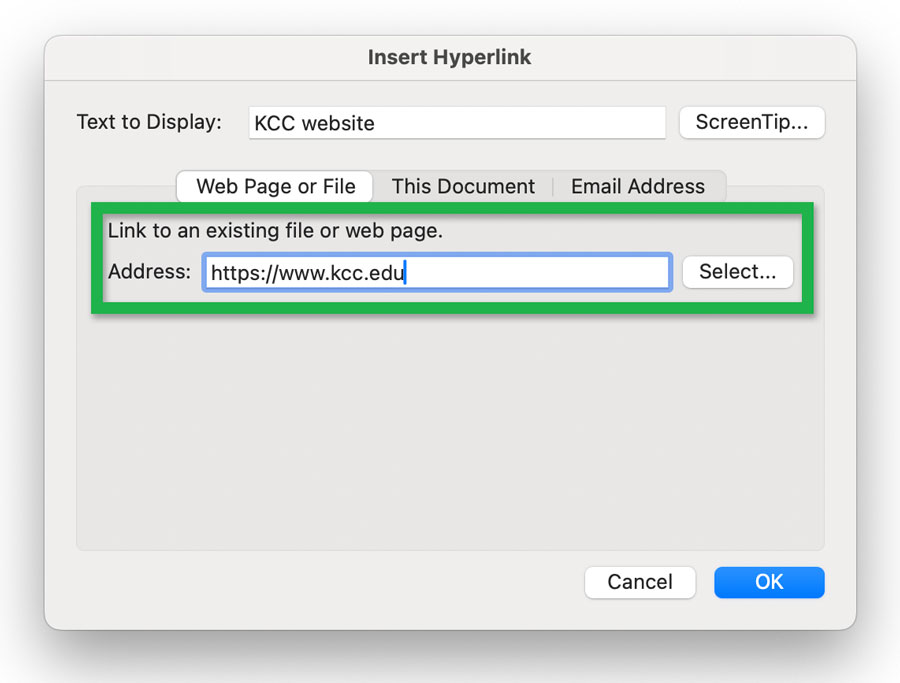
while right-clicking selected text. - This will open the Insert Hyperlink window. Add the web address you want to link to in the Address field.
Screenshot of the Insert Hyperlink window used for creating links.
You can also adjust the link text using the Text to Display field.
Lists
See using lists for more information on appropriate uses for bulleted (unordered) and numbered (ordered) lists.
Use Word's built-in list styles to ensure a consistent and accessible structure. Avoid using custom bullet characters (in other words, don't use Define New Bullet...) because they will not produce accessible lists. If you must use custom bullets for a document that will be converted to a PDF file, you will need to fix the resulting list tags in Acrobat afterwards. However, the Word document will not be able to be made accessible.
To add lists in a document:
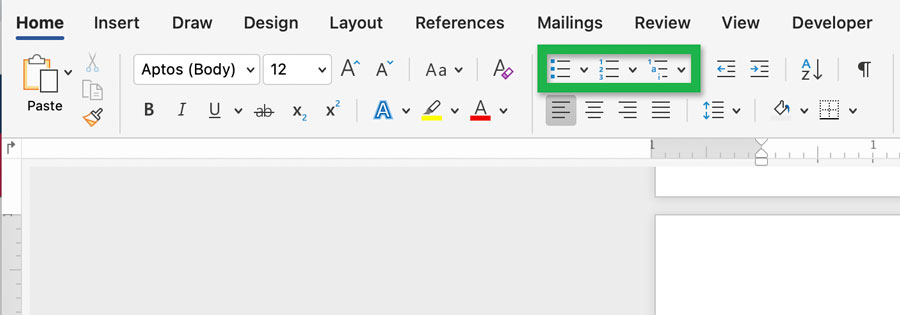
- On the Home tab, in the Paragraph panel, choose Bulleted (
 ) for unordered lists, Numbered (
 ) for ordered lists, and Multilevel Lists () for multilevel ordered and unordered lists.
Screenshot showing the list options in the Paragraph panel of the Home tab. - Use the little carrot next to the list icon to select different list styles for each type of list.

used for selecting different bullet types.
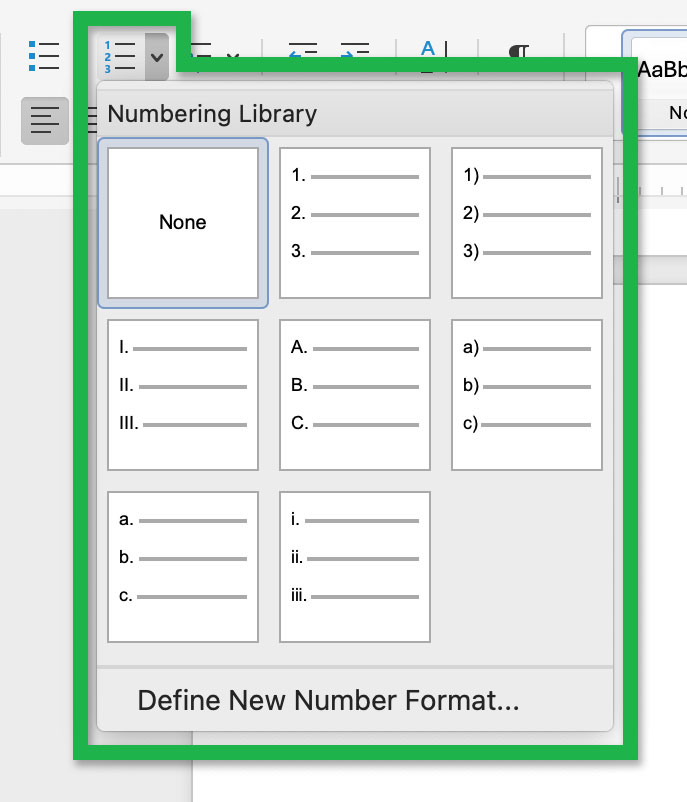
used for selecting different numbered list types.
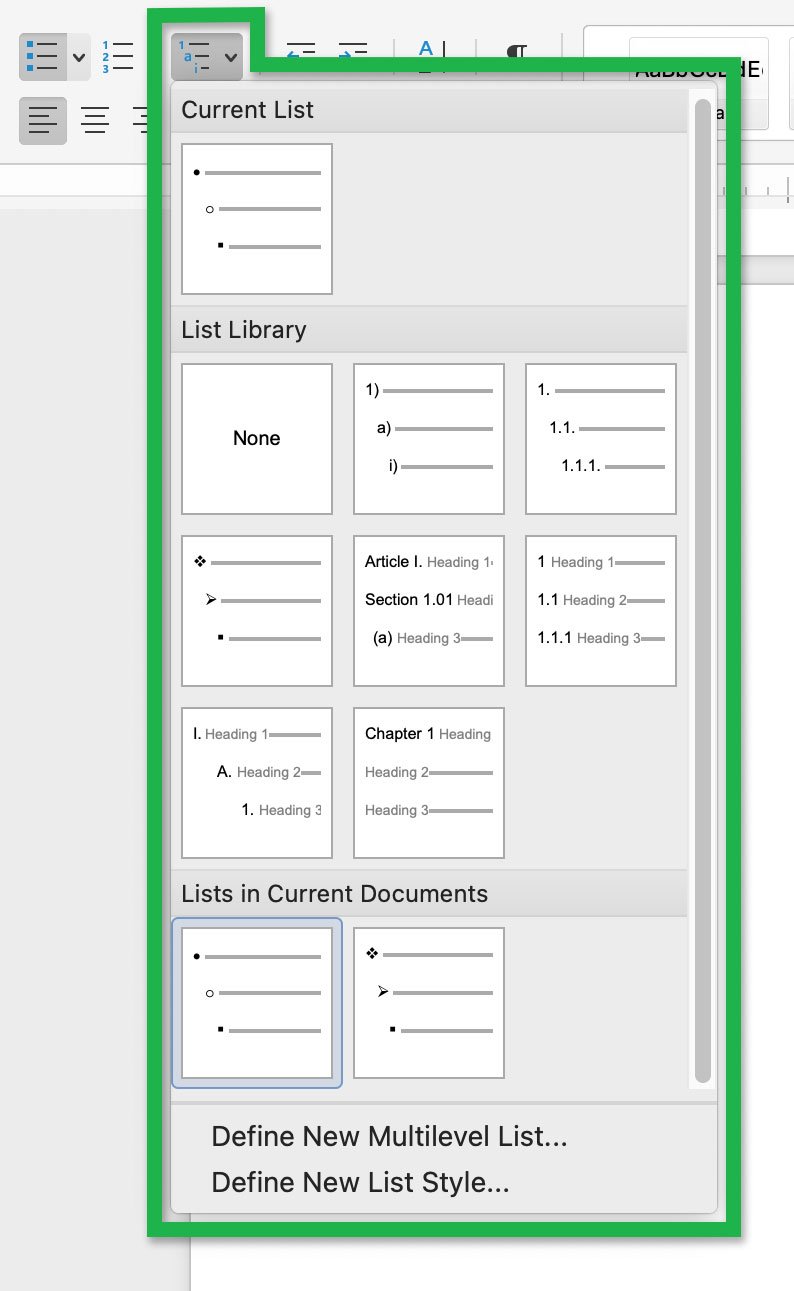
used for selecting different multilevel list types.
Alternative text
Images
If you insert an image into your document, it must have alternative text (alt-text) unless the graphic is purely decorative and does not add information to understand the content. Without alt text, screen reader users will not be able understand what your image or graphic is about.
For more information and best practices on creating helpful and appropriate alternative text, see alternative text.
To add alternative text to images:
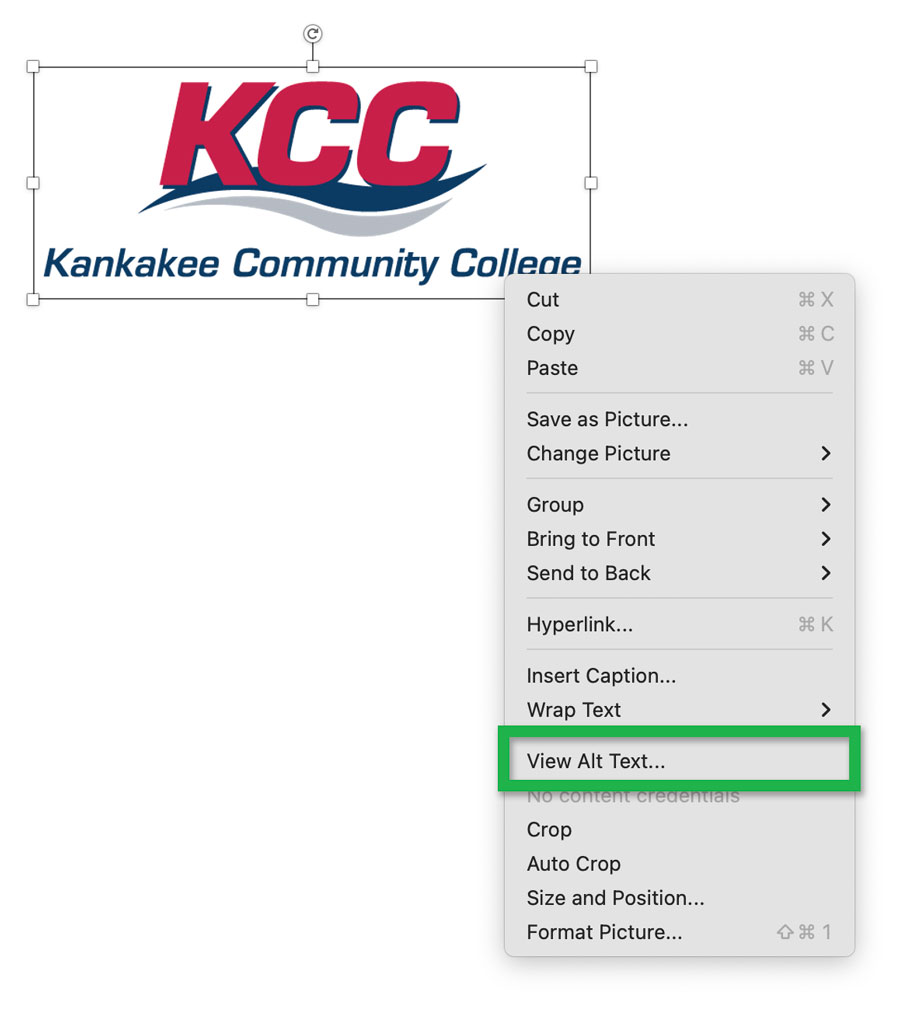
- Right-click the image or graphic and select View Alt Text...
Screenshot showing the View Alt Text...
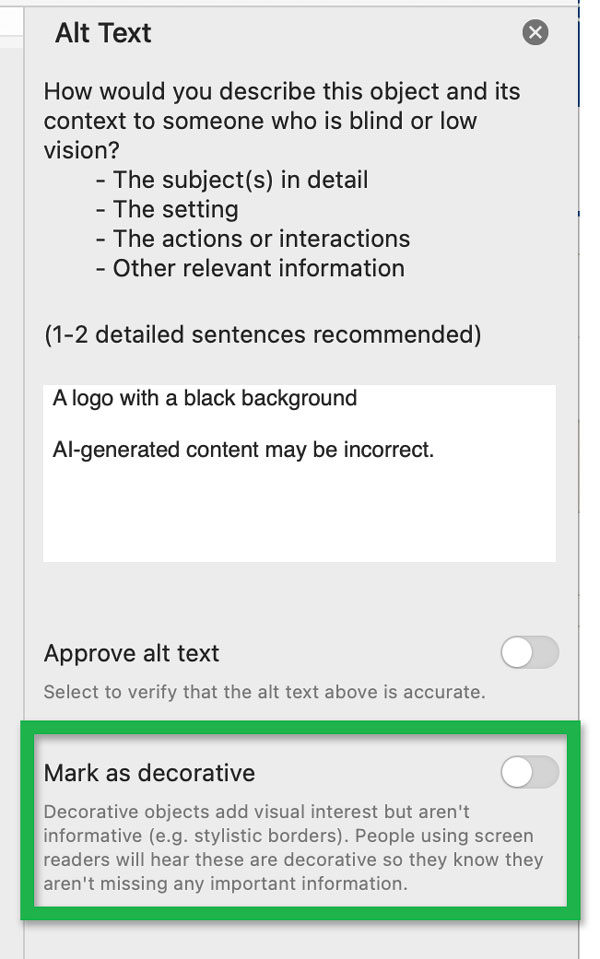
option when right-clicking on an image.- On newer versions of Microsoft Word, it may attempt to automatically generate alternative text when you insert an image. This AI generated alt text usually needs to be adjusted. Clicking on the auto-generated alt text will also open the Alt Text window.
Screenshot showing the AI generated alternative text.
- On newer versions of Microsoft Word, it may attempt to automatically generate alternative text when you insert an image. This AI generated alt text usually needs to be adjusted. Clicking on the auto-generated alt text will also open the Alt Text window.
- This opens the Alt Text panel to the right side of the document.
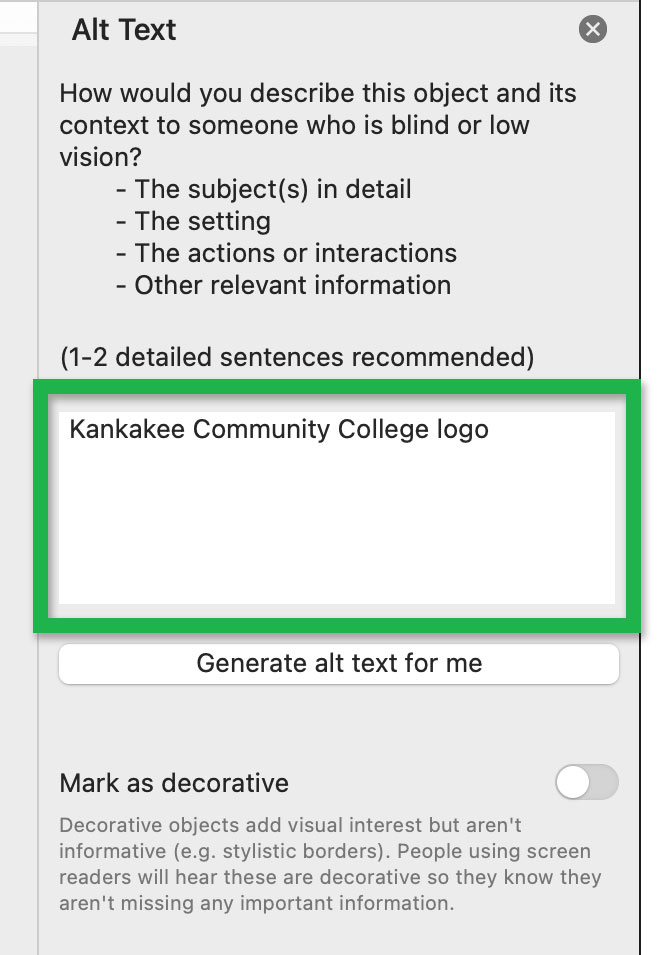
Add (or edit) the alt text using the text box.Screenshot of the Alt Text panel
showing the text box for adding
and editing alt-text.- You can also activate the Mark as decorative toggle switch for images that are purely decorative and don't add meaning to the content.
Screenshot of the Mark as decorative
option of the Alt Text panel.
- You can also activate the Mark as decorative toggle switch for images that are purely decorative and don't add meaning to the content.

Tables
Do not use a screenshot or picture of a table. Create it as content in the page. You can add alt text to tables, which can help screen reader users understand the table and its context.
To add alt text to a table:
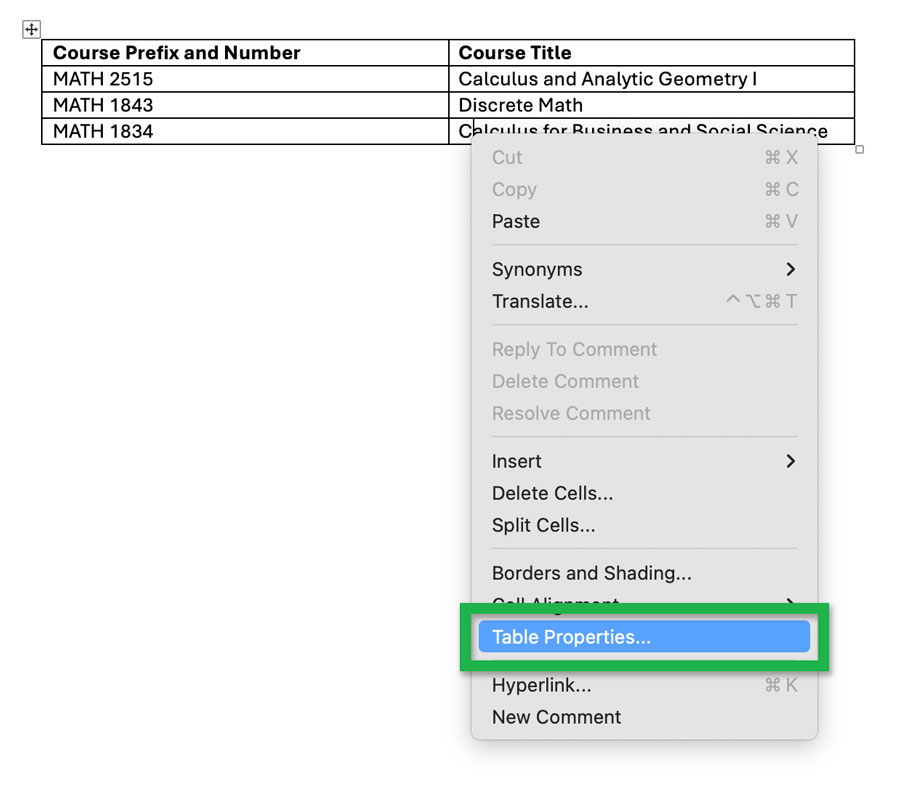
- Right-click anywhere on the table and choose Table Properties....
Screenshot of the Table Properties... option
when right-clicking in a table. - This opens the Table Properties window. Choose the Alt Text tab.
Screenshot of the Table Properties window
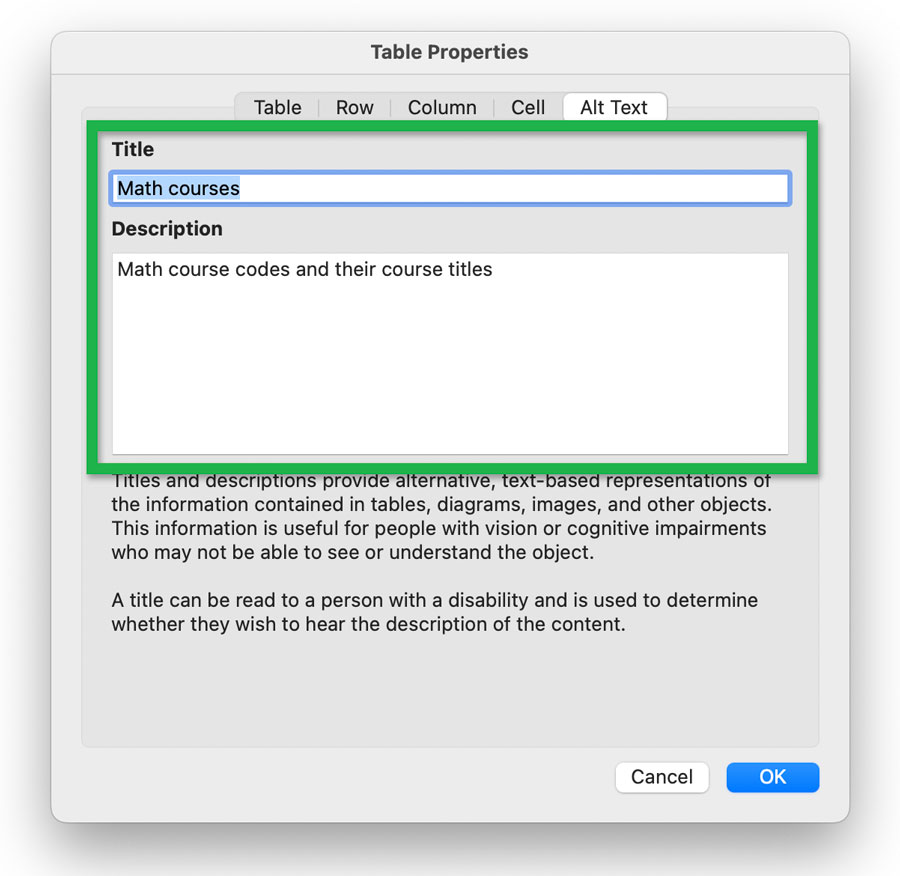
showing where the Alt Text tab is. - Enter a Title and Description for the table and then select the OK button.
Screenshot of the Title and Description fields
for adding alt text to a table.

Charts and graphs
The information contained in charts and graphs needs to be conveyed in a way that non-visual users can understand. Whenever possible, include a simple table underneath it containing the data.

table underneath for non-visual users.
If you cannot add the data in a table, add alternative text. Describe the chart or graph like you're explaining it to a friend who cannot see it. Include data contained in the chart or graph and any other important details.
Add alt text just like you would for an image:
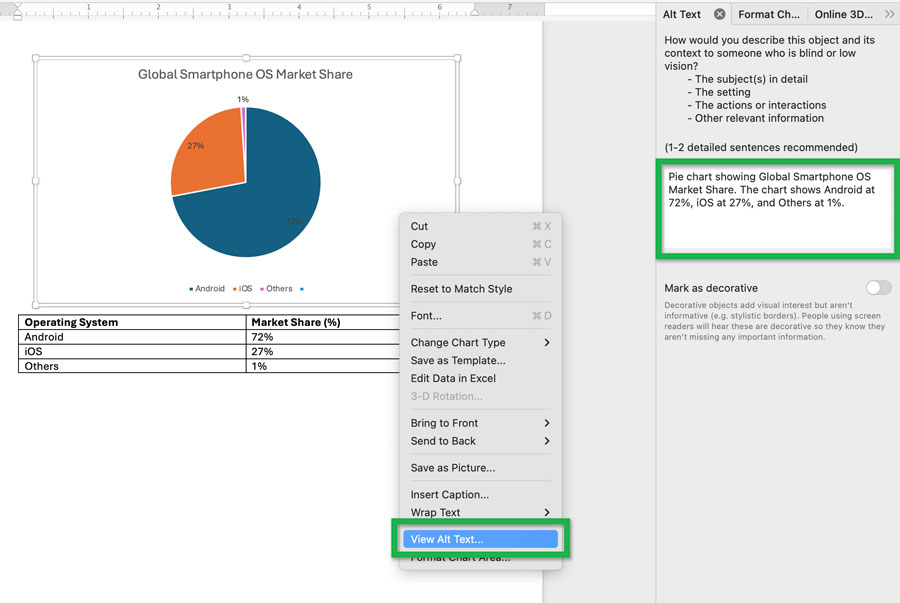
a pie chart and the text box for adding alternative text.
Other graphics
Other forms of graphics like shapes, icons, 3D models, SmartArt, and charts require alternative text too.
Add alt text to these graphics just like you would for images. Right-click the graphic and select Edit Alt Text...

option when right-clicking a 3D Model.
Grouped graphics
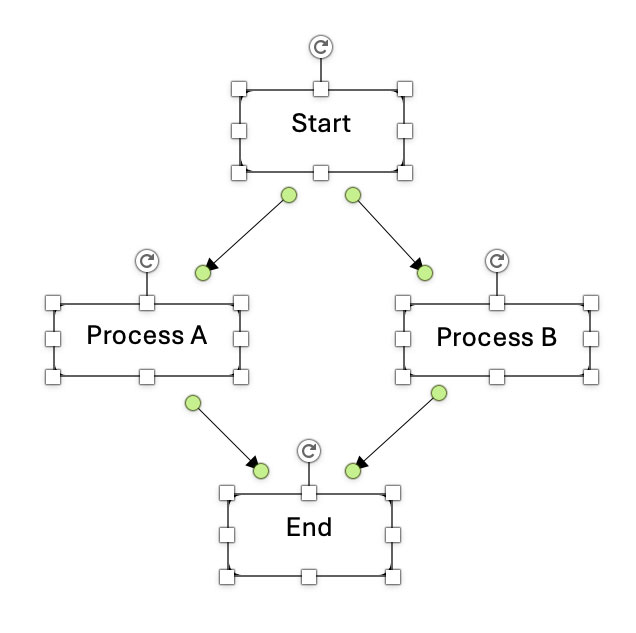
If you use multiple icons, shapes, or other objects to create a single graphic (e.g. flow-chart or node map), it still needs alternative text. Since the various objects are used to create a single graphic, they need to be grouped so that you can add alt text to your design as a whole.
To group multiple objects:
- Select all objects. Select the first object, then hold the shift key to add more to your selection.
Screenshot showing the selection of multiple
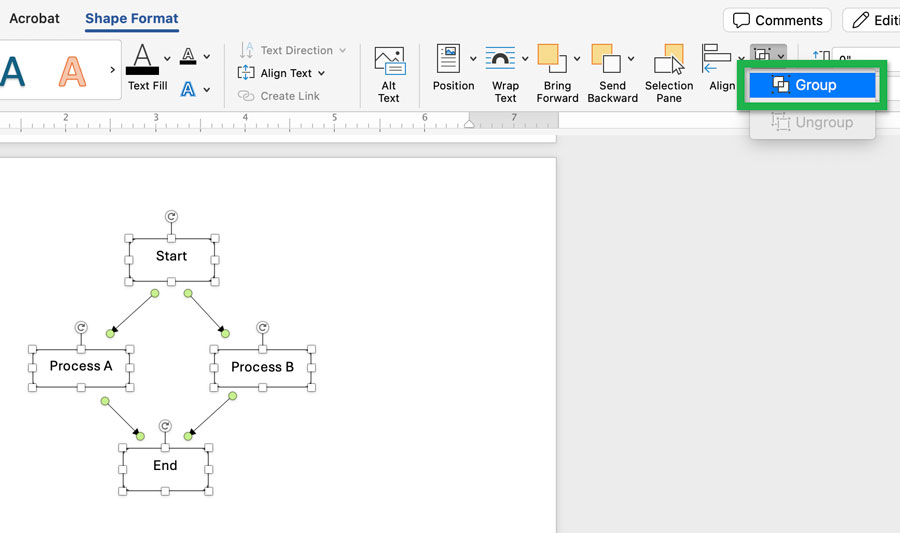
shapes making up a flow-chart. - With all the objects selected, navigate to the Shape Format (or Picture Format tab depending on what kind of objects you selected).
Open the Group Objects dropdown ( ) and select Group.
Screenshot showing the Group option of the Shape Format tab. - Now that all the shapes are grouped, you can add alternative text like you would with an image.
Right-click the grouped objects and select View Alt Text.Screenshot showing the View Alt Text
option when right-clicking grouped objects.

Tables and table headers
It is important that tables in documents not be overly complex. Ideally, have a single header row and no merged cells anywhere. Empty cells should also be avoided — use values like n/a instead. If a table is too complex, you can usually break it up into multiple simple tables.
Header row
To make sure your table has a header row:
- Click anywhere in the table and select the Table Design tab.
Screenshot showing the Table Design tab. - Make sure the Header Row checkbox is active.
Screenshot showing the Header Row checkbox.


Header column
A simple table can contain a header column as its first column. To add a header column:
- Click anywhere in the table and select the Table Design tab.
- Make sure the First Column checkbox is active.
Screenshot showing a table with a header column, the Table Design tab
active, and the First Column checkbox checked.

Spacing
Improperly positioned text blocks in Microsoft Word using the tab, spacebar, and enter/return keys can cause screen readers to announce all the extra spacing characters. These keys are often used to adjust layouts by adding horizontal and vertical spacing and indentation. This can make the document difficult to understand for those users.
Microsoft Word has multiple built-in features you should use to adjust spacing and indentation in your document layout.
Page breaks should be created using the Page Break tool in the Layout tab.
Horizontal spacing tools include Decrease Indent (![]() ) and Increase Indent (
) and Increase Indent (![]() ). Vertical spacing tools include the Line and Paragraph Spacing (
). Vertical spacing tools include the Line and Paragraph Spacing ( ) dropdown which has multiple options. These can be found in the Home tab of Word, in the Paragraph panel.

Line and Paragraph Spacing tools.
Horizontal spacing (indentation)
To adjust horizontal spacing (to add or remove indentation):
- Select the text you want to indent (or remove indentation from).
Screenshot showing a selected block of text for indenting. - Navigate to the Home tab and find the Paragraph panel.
Screenshot showing the Paragraph panel location within the Home tab. - Use the Increase Indent () tool to add horizontal spacing (indentation).
You can increase the indentation multiple times to further position your text.Screenshot showing a document with multiple blocks of indented text. - To decrease or remove horizontal spacing, highlight the text to adjust and use the Decrease Indent () tool.
Screenshot showing the location of the Decrease Indent tool.


Custom indentation
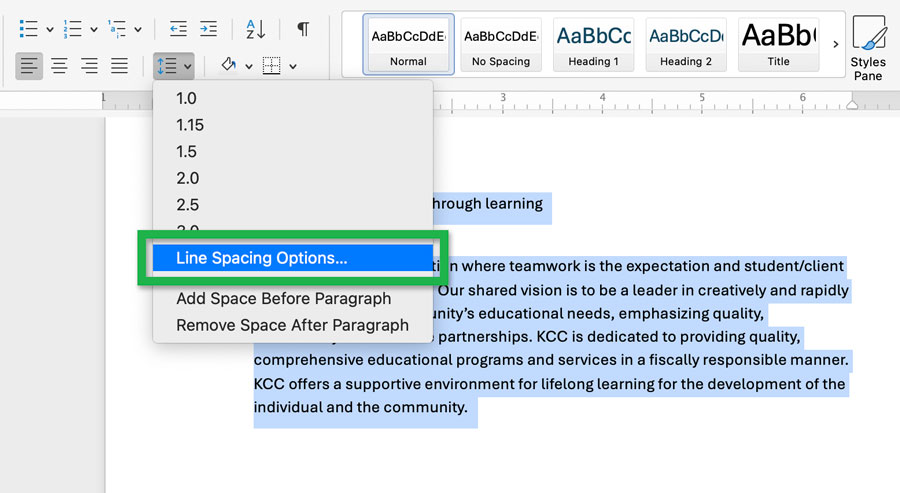
To customize the amount of indentation, use Line Spacing Options... in the Line and Paragraph Spacing dropdown:
- Select the text you want to adjust.
- On the Home tab, find the Paragraph panel.
Open the Line and Paragraph Spacing dropdown and select Line Spacing Options...:Screenshot showing Line Spacing Options... in the Line and Paragraph Spacing dropdown. - This will open the Paragraph window.
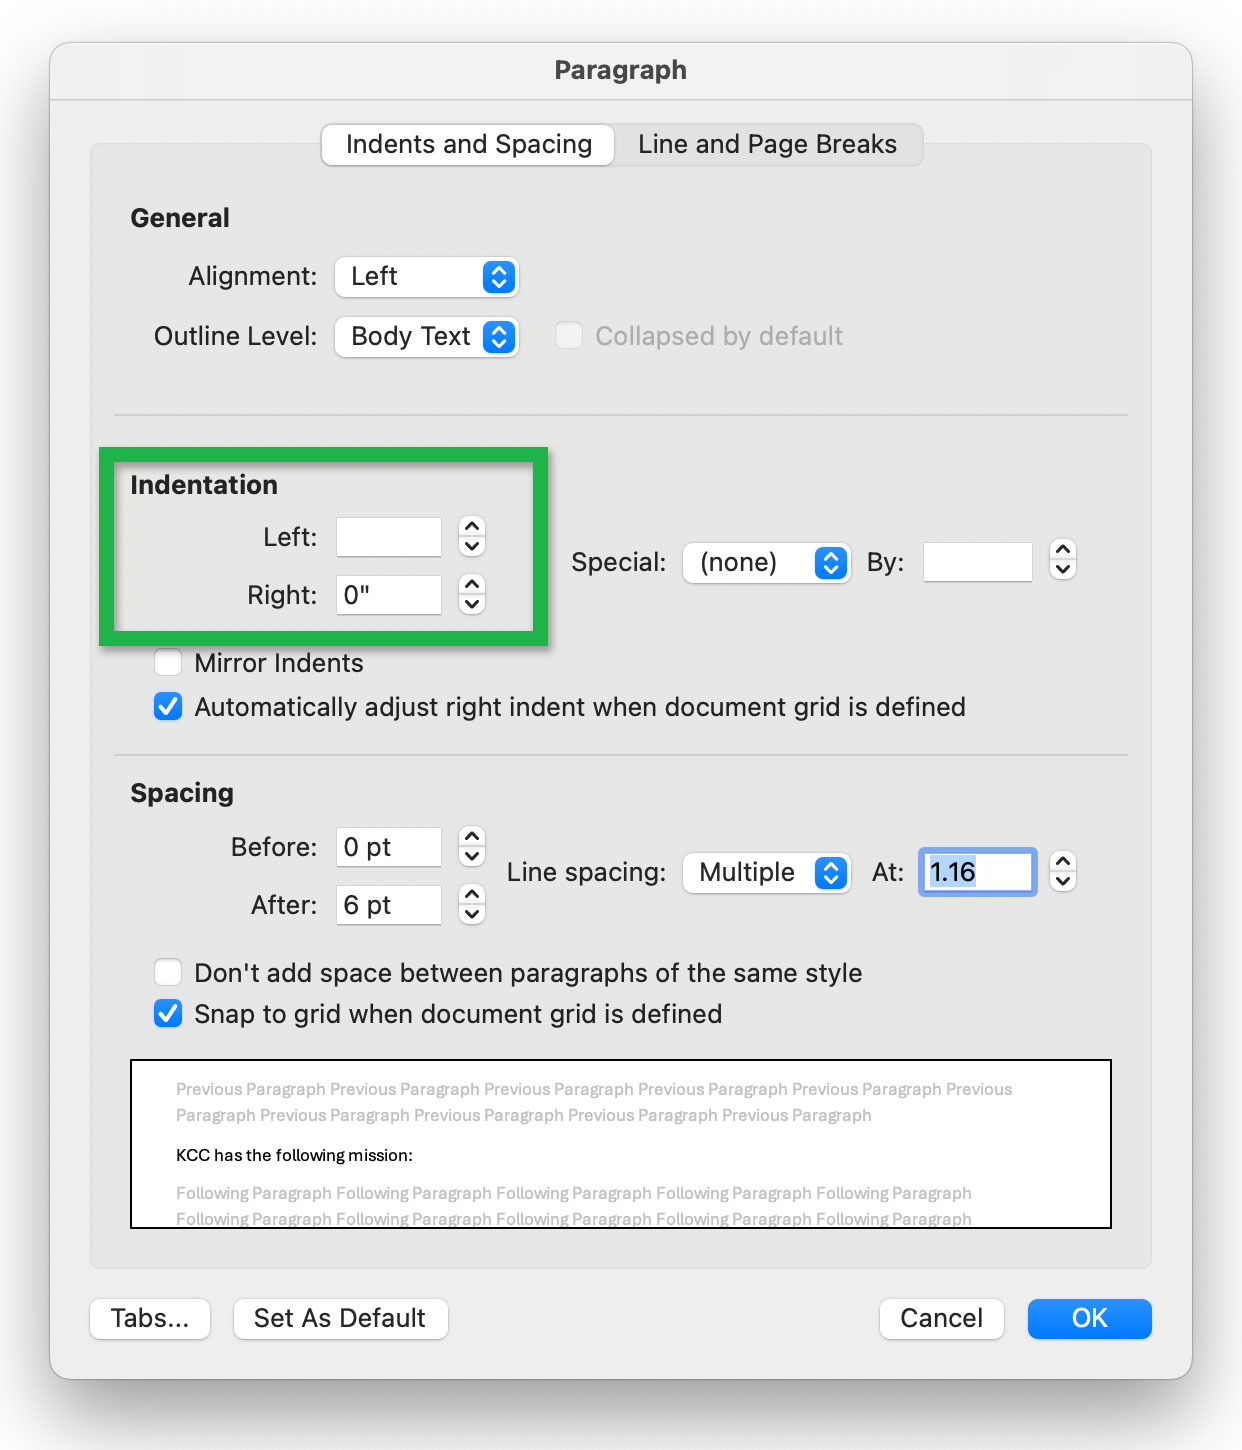
Under Indentation use the Left and Right fields to specify indentation values in inches.Screenshot showing the Left and Right fields for adjusting
Indentation in the Paragraph window.
Vertical spacing
You can adjust line and paragraph spacing using the tools in the Line and Paragraph Spacing () dropdown.
Line spacing
To adjust line spacing:
- Select the text you want to adjust.
- Navigate to the Home tab and find the Paragraph panel.
Open the Line and Paragraph Spacing dropdown and select the line spacing value you want (e.g. 1.0, 1.15, 1.5, 2.0, etc.).Screenshot showing the Line and Paragraph Spacing dropdown.
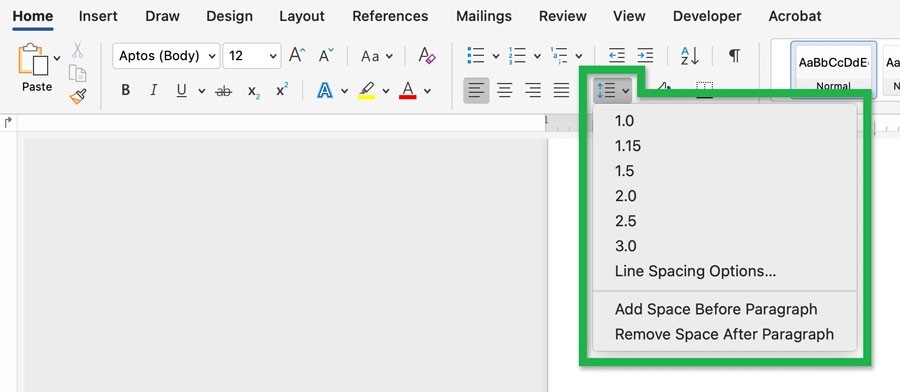
The line spacing values adjust the line-height relative to the text-height. For example, 2.0 line spacing will make each line two-times the text height.
Paragraph spacing
To adjust paragraph spacing (i.e. the amount of space before and after paragraphs):
- Select the paragraph(s) you want to adjust and navigate to the Home tab and find the Paragraph panel.
- Open the Line and Paragraph Spacing dropdown:
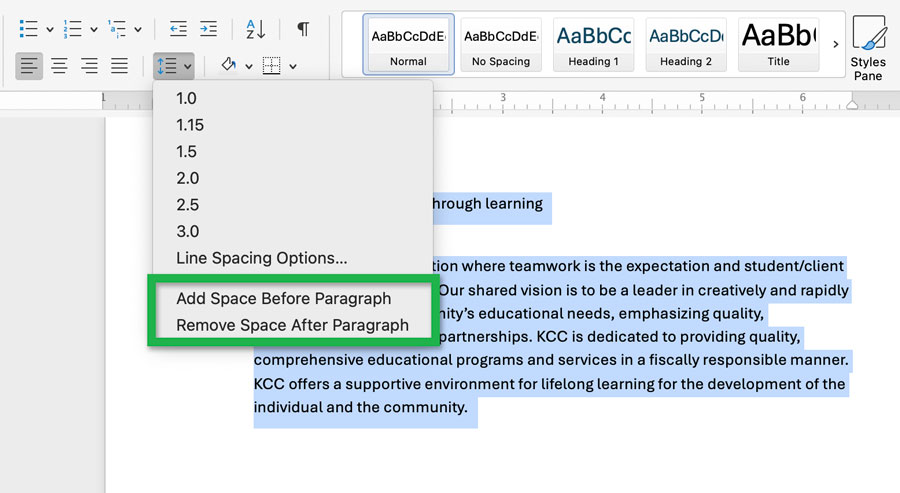
- You can use Add Space Before Paragraph and Remove Space After Paragraph, or...
Screenshot showing the Add Space Before Paragraph and Remove Space After Paragraph
options of the Line and Paragraph Spacing dropdown. - use Line Spacing Options... for more granular control.
Screenshot showing Line Spacing Options... in the Line and Paragraph Spacing dropdown.
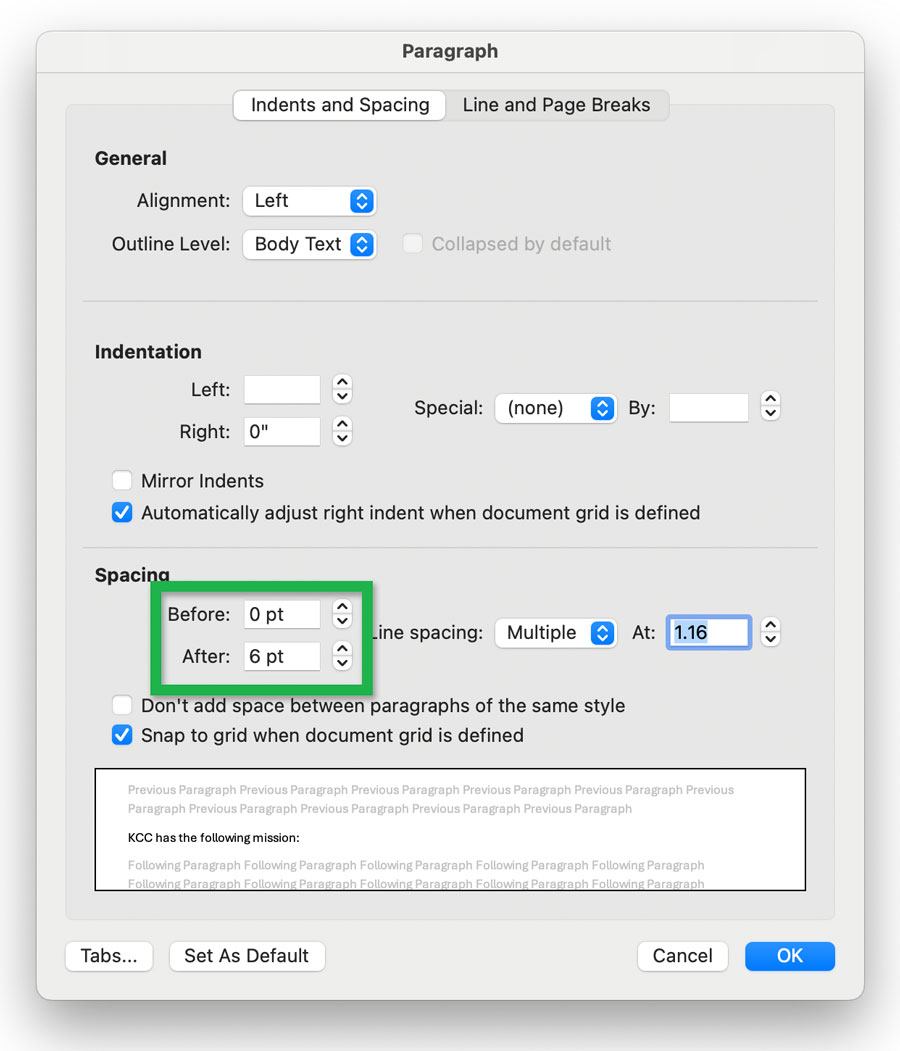
This will open the Paragraph window where you can specify exact values for paragraph spacing.
Modify the Before and After fields to adjust the spacing before and after paragraphs.Screenshot showing the Before in the Line and Paragraph Spacing dropdown.
- You can use Add Space Before Paragraph and Remove Space After Paragraph, or...
Page breaks
Page breaks should be added using Word's Page Break tool instead of the enter/return key.
Tp add a page break:
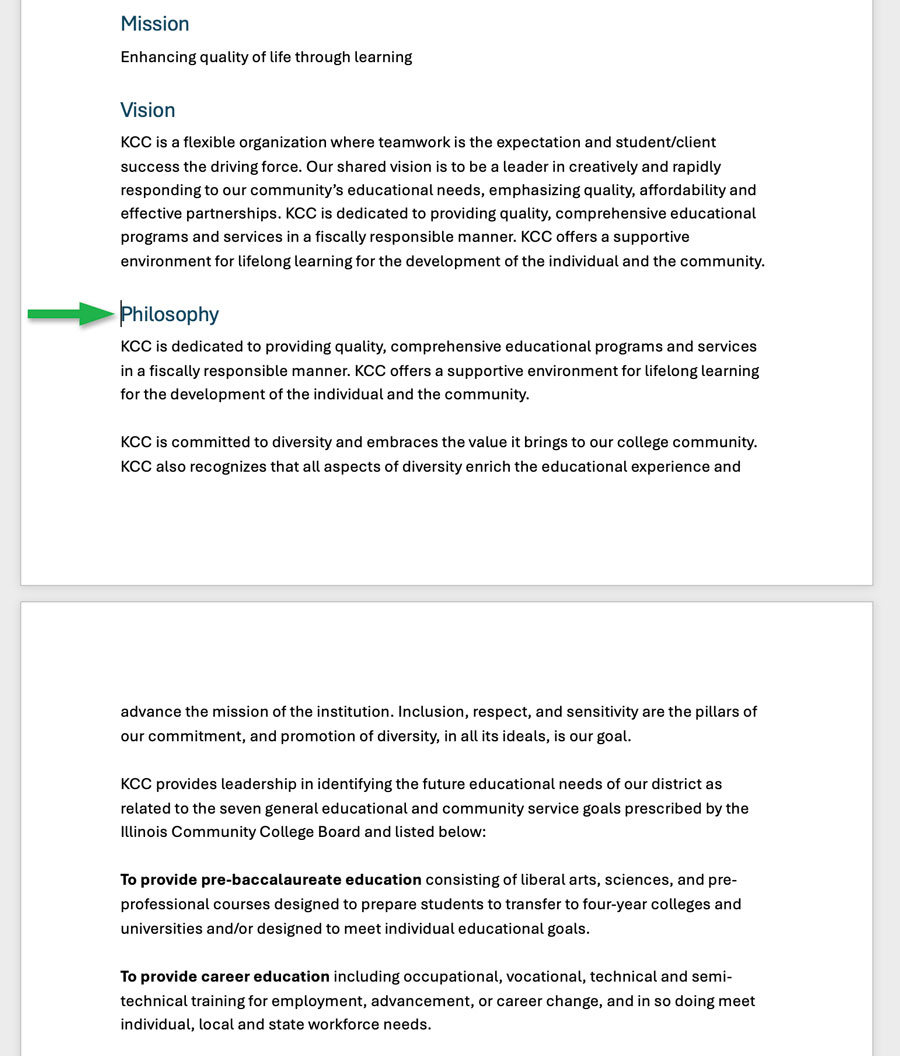
- Place your cursor before the text that you want to move to the next page.
Screenshot showing cursor placement before a heading that
starts a new section towards the end of a page. - Navigate to the Insert tab and select Page Break ()
Screenshot showing the location of the Page Break tool
within the Insert tab.
This will create a page break without excessive spacing characters being announced for screen reader users.Screenshot showing the same page with a page break inserted.


Document properties
For accessibility, Word documents need their title and language to be set in the document properties.
Title
Setting the document title is slightly different between Windows and macOS.
On Windows
- Navigate to the File tab.
- Click Info on the left-hand column.
- On the right side of the screen, under the Properties section, locate the Title field (it may say "Add a title").
- Click in the field and type your desired document title.
- The change is automatically saved to the document's properties.
On macOS
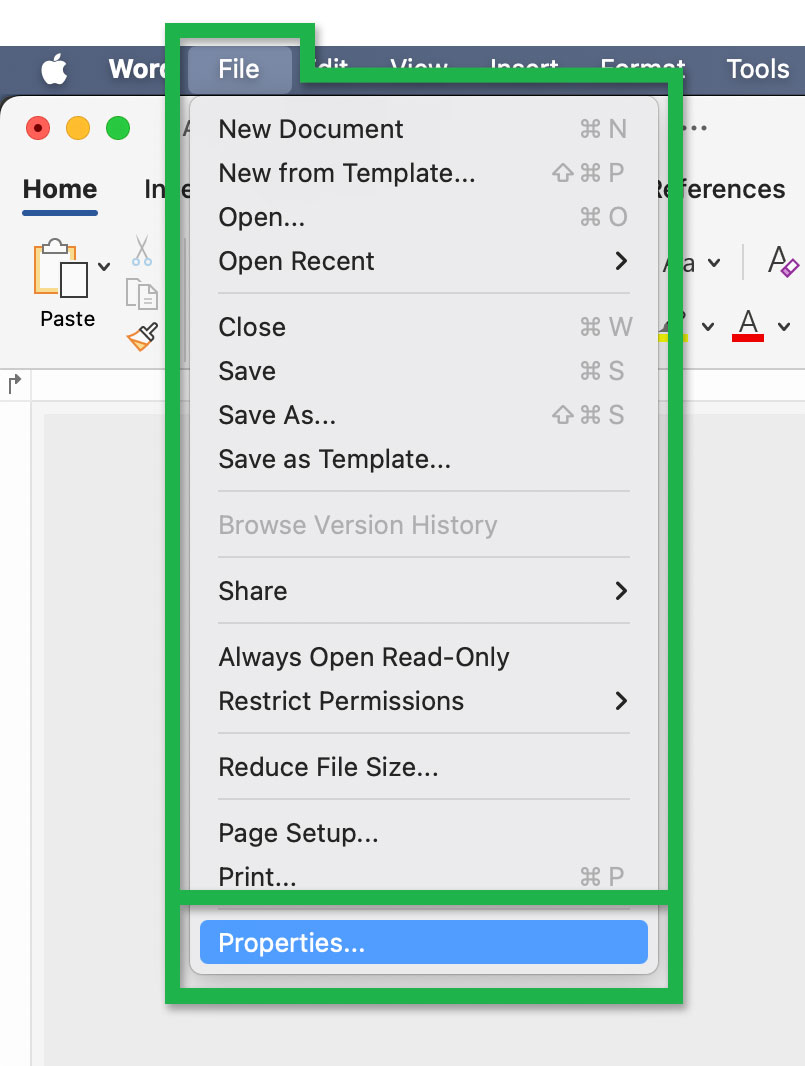
- Navigate to the File menu at the very top of the screen and select Properties from the dropdown menu.
Screenshot showing the Properties... option
in the File dropdown menu. - In the Document Properties dialog box that appears, click the Summary tab.
Screenshot showing the location of the Summary tab
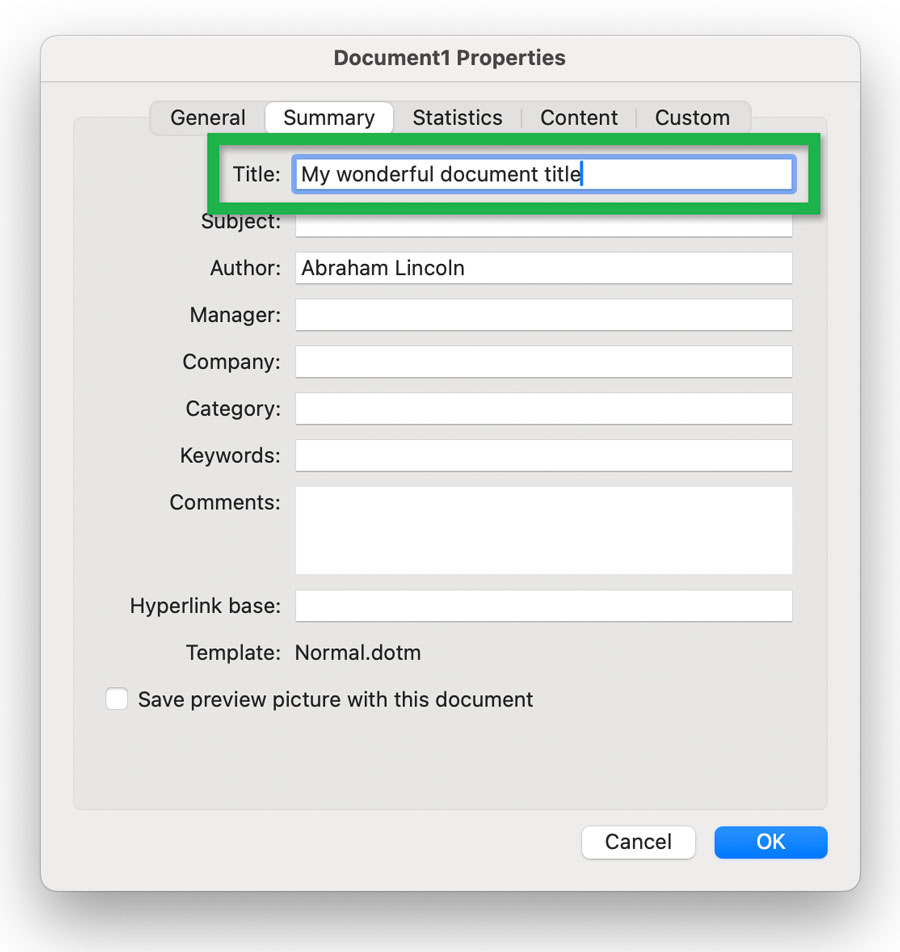
in the Document Properties window. - Type your desired document title into the Title field.
Screenshot showing the Title field
in the Summary tab. - Click OK to save the properties and close the box.

Language
Usually, Word will automatically detect the language of your document. If you are going to generate a PDF, the language should be set automatically.
If you need to modify the language or designate a portion of the document as another language you can do the following:
- Select the text (or entire document) you want to chang the language for.
- Navigate to the Review tab and select Language tool (within the Language panel).
Screenshot showing the Language tool
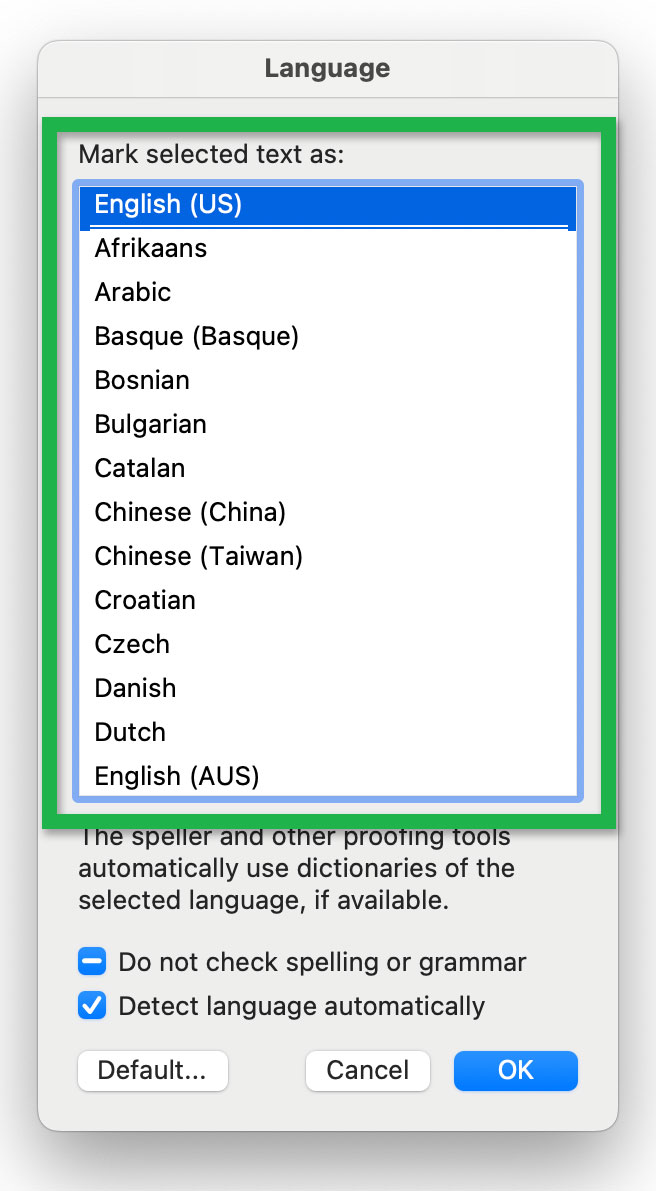
in the Review tab. - This will open a Language window.
Select the correct language from the list in the Mark selected text as field then use the OK button.Screenshot of the Language
window showing the
Mark selected text as field.

Converting to PDF
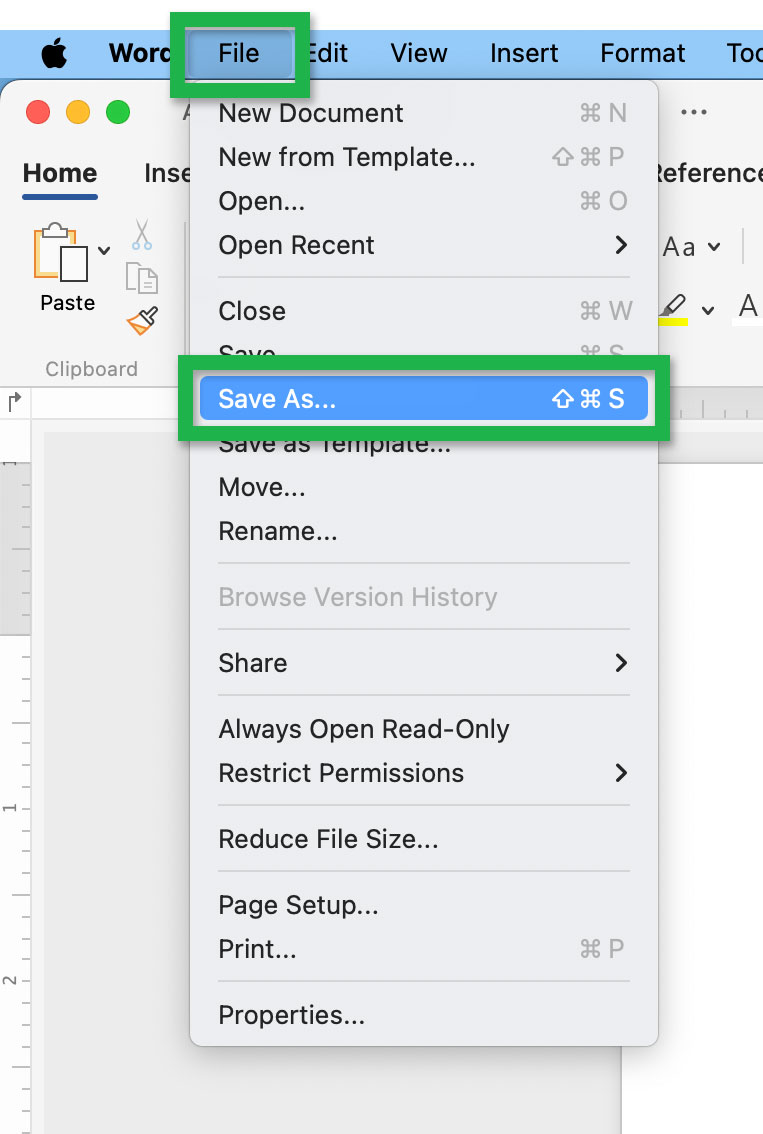
Use Word's Save As... dialog box once your document is ready to be made into a PDF file.
- In the File menu select Save As....
Screenshot showing the Save As...
option in the File menu. - This opens the save as dialog.
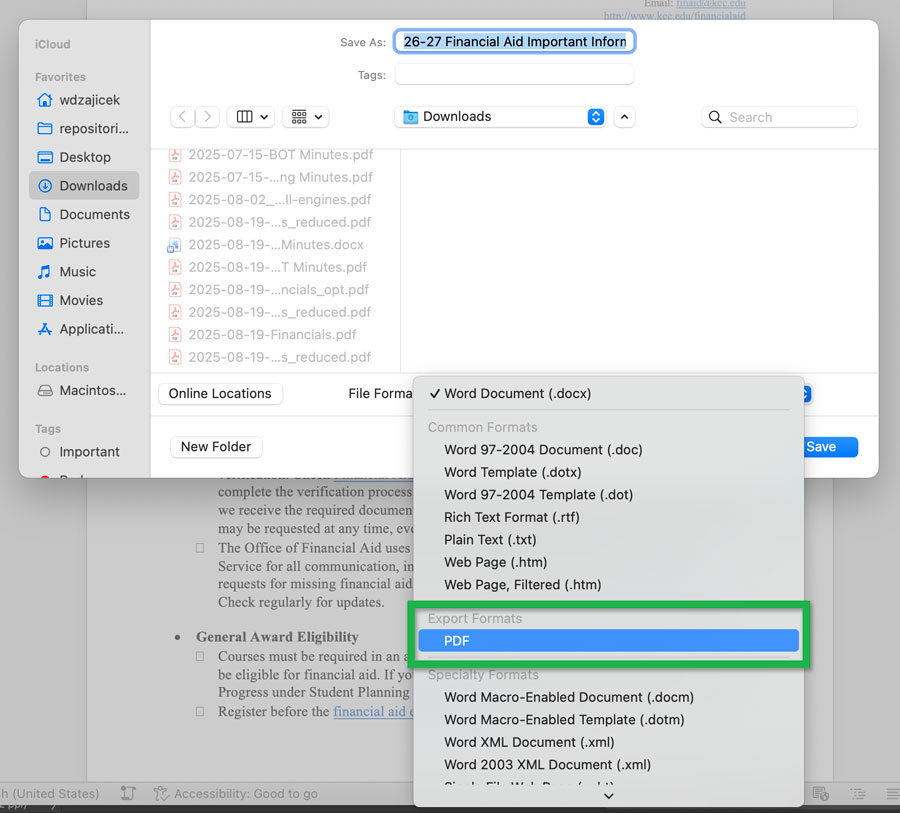
Expand the File Format dropdown and select PDF.Screenshot showing the PDF
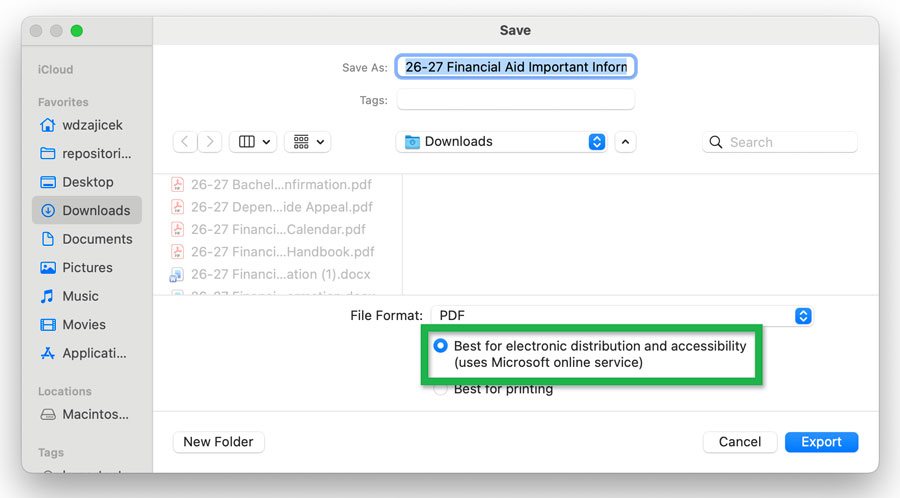
option of the File Format menu. - Select the Best for electronic distribution and accessibility (uses Microsoft online service) checkbox and not the "Best for print" checkbox.
Screenshot showing the Best for electronic... checkbox
in the Save As dialog box. - Use the Export button after you've selected the correct settings and specified the filename.

Don't use Acrobat
Your installation of Word may have an Acrobat tab. The Create PDF tool takes you to the same save window mentioned above. If you have a paid version of Acrobat installed, it may ask you if you want to use Acrobat to generate the PDF. Do not use Acrobat. The tagged elements may not carry over which are required for accessibility.
To use the Create PDF tool:
- Open the Acrobat tab and select the Create PDF tool.
Screenshot showing the Create PDF tool
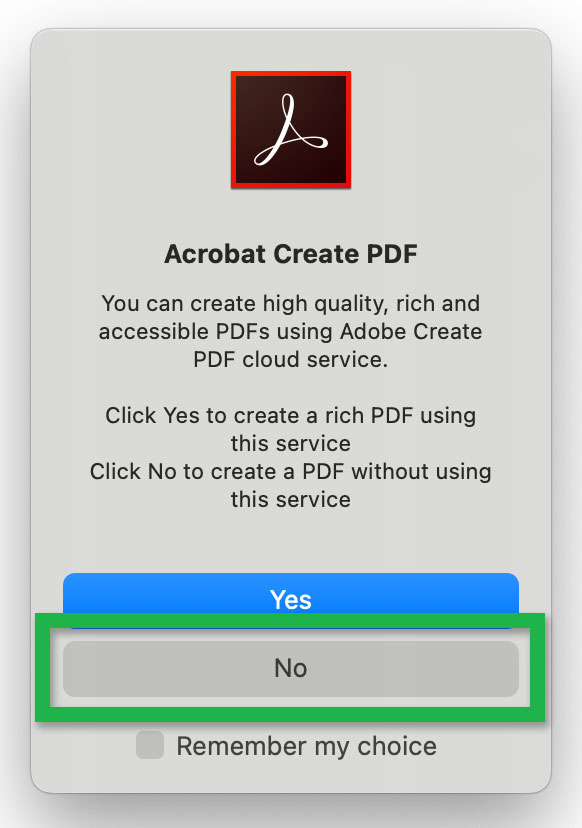
in the Acrobat tab. - If a small Acrobat Create PDF window pops up, select the No button.
Screenshot showing the
Acrobat Create PDF window. - This will open a Save window.
Make sure the checkbox for Best for electronic distribution and accessibility (uses Microsoft online service) is active.Screenshot showing the Save window
with the Best for electronic... checkbox active. - Use the Export button to save the file as a PDF.

Accessible templates
Microsoft Word offers accessible templates that have the following:
- Better color contrast
- Meaningful alt text
- Simple table structures
- Larger font size
- Input messages
- And more
You can find accessible templates online or in Microsoft Word.
Online
- Go to create.microsoft.com (opens in new tab/window)
- Search for "accessible templates"
Within Word
- Go to File > New.
- Type "accessible templates" in the Search for online templates box.
More information is on Microsoft's Get accessible templates for Office (opens in new tab/window) page.